Getting Your Cabinets Ready for a New Look
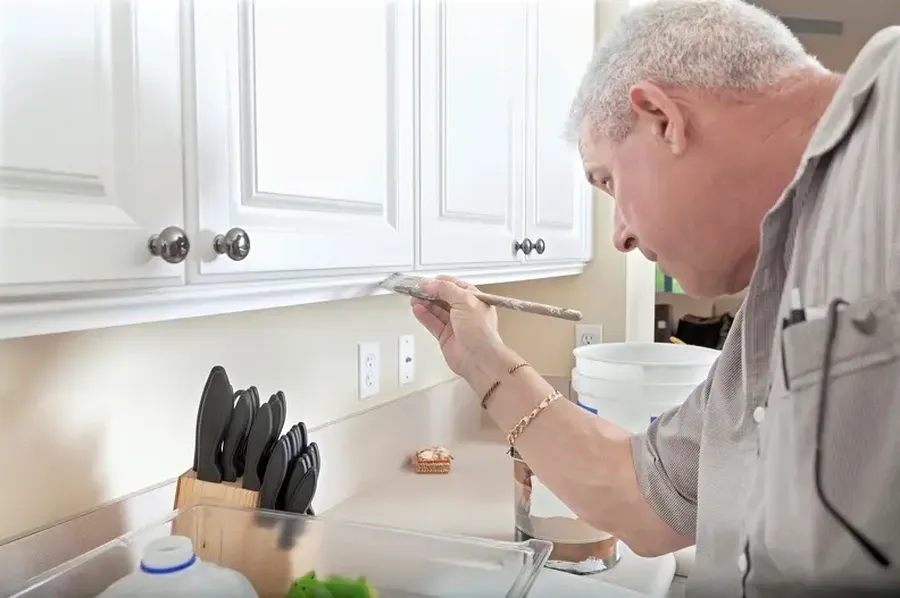
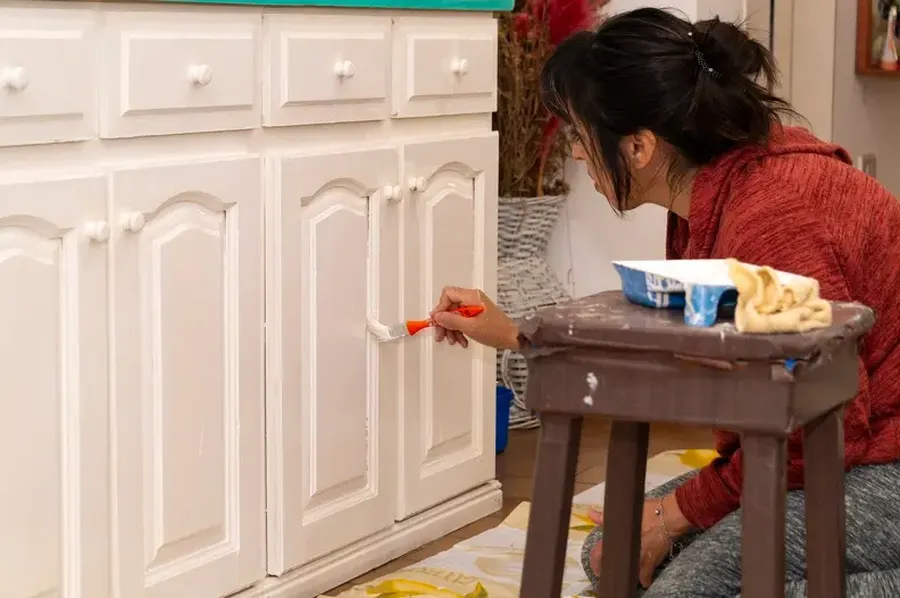
Are your cabinets looking tired and in need of a refresh? A new layer of paint can make a significant difference. But before you dive into the painting process, it’s essential to prepare them properly. This preparation ensures that the paint adheres well and lasts longer. From cleaning to sanding, each step plays a crucial role in achieving a professional finish. Let’s explore the steps you need to take to get your cabinets ready for their transformation.

Importance of Proper Preparation
Preparing cabinets correctly is vital for several reasons. First, it helps the paint stick better, preventing chipping and peeling over time. Additionally, proper preparation results in a smoother finish, making your cabinets look more polished and professional. Without adequate preparation, even high-quality paints might not perform as expected. Taking the time to prep your cabinets will save you effort and disappointment later.
Gathering Necessary Supplies
Before beginning the process, collect all the necessary supplies. You’ll need cleaning solutions to remove grease and grime, sandpaper or a sanding block for smoothing surfaces, and primer to ensure the topcoat adheres properly. It’s also important to have brushes or rollers suitable for cabinet painting tasks. Having everything ready from the start will streamline your project and help avoid interruptions.

Cleaning Your Cabinets Thoroughly
The first step in preparing cabinets is thorough cleaning. Dirt, grease, and other residues can prevent paint from adhering properly. Use a good quality degreaser or mild soap and water to clean every surface of the cabinets. Pay special attention to corners and edges where grime often accumulates. Ensure that all surfaces are completely dry before moving on to the next step.
Sanding for a Smooth Surface
Sanding is an essential part of cabinet preparation. It smooths out any imperfections and roughens up the surface so that the paint can grip better. Use fine-grit sandpaper to sand down the surfaces gently. Focus on areas with visible blemishes or old paint build-up. Remember to wipe away dust after sanding to keep the surface clean for priming.
Applying Primer Correctly
Priming is a crucial step that many DIY enthusiasts overlook, but it’s key to achieving long-lasting results with cabinet painting. Apply a suitable primer evenly across all surfaces after sanding. The primer acts as a bonding agent between the surface and the paint, ensuring durability. Choose a primer compatible with your selected paint type for best results.
Inspecting Hardware and Hinges
Don’t forget about your cabinet’s hardware and hinges during preparation. Remove these parts before painting to avoid getting paint on them. Check if they need polishing or replacing before reattaching them after painting. Well-maintained hardware complements freshly painted cabinets beautifully, enhancing overall aesthetics.
Your Painting Project Partner
If you’re still unsure about tackling this project alone, consider reaching out to professionals who specialize in transforming cabinets efficiently. Our team at All Brite Painting Inc. has extensive experience in the field and understands customer needs perfectly. Based in Tyngsborough, MA, we offer expert advice tailored to meet individual project requirements while ensuring top-quality results. Don’t hesitate to contact us at (978) 229-0402 for assistance with all your cabinet painting endeavors.